
When it comes to purchasing a racing seat there are several things to consider. Price, comfort, safety, will the seat fit in my car and adhering to your sanctioning body rules all come into effect. If you are an HPDE driver looking to upgrade from your OEM seat to a proper racing seat, or if you already race or run time trials and your seat is expiring we’ll discuss some options you have available for racing seats.
It all starts with being properly fitted for your racing seat. (To start we recommend the full containment or “halo” racing seat (Kirkey, Ultra-Shield and OMP all offer great options) as these provide more support for the head and neck in the event of an incident). Being properly fitted is not only crucial to you sensing what the car is doing, but also for safety. Vehicle sensory input starts where the seat makes contact with the body. If your seat is not properly fitted and you are moving around in the seat during braking, cornering or hard acceleration you are not sensing as much from the vehicle as you could be. Your seat should fit snuggly with you not moving around or bracing yourself in cornering, but also not so snug that you are uncomfortable. If you are loose in the seat, you will be allowed to move relative to the car in an impact. This movement will be acceleration. At some point during the crash it will turn into sudden deceleration, increasing your chances of injury.
Before purchasing your racing seat it is wise to check with your sanctioning body or local racing organization for what requirements they may have for racing seats. Many sanctioning bodies now require seats that adhere to the FIA homologation. Any seat that is not FIA certified needs to have a back brace installed that prevents the seat from moving backwards in the event of a crash. These are primarily aluminum seats such as seats from Kirkey and Ultra-Shield and will protect you just as well as an FIA seat, just at a lower cost. We also offer FIA homologated seats from OMP. Decide which is best for you based on budget, comfort, weight of the seat and whether the seat will fit into your car.
Using NASA as an example, here’s how the NASA CCR spells out the need for back braces in section 15.6.21:
“An exception may be made for those seats homologated to, and mounted in accordance with, FIA 8855-1999 or 8862-2009 standards. Those seats that qualify for the aforementioned exception must conform to the entire FIA 8855-1999 or 8862-2009 set of regulations, as applicable. This includes a mandatory seat replacement, or use of a seat back brace, for any seat more than five (5) years old (8855-1999) or more than ten (10) years old (8862-2009).”
Pictured here the is the back brace offered by Competition Engineering.

Seat Back Brace by Competition Engineering
Using the NASA CCR again as an example, the NASA rule in section 15.17.9 further states the following, “All vehicles, except formula cars, must be outfitted with a right-side impact head restraint system. A seat with a “bolster” to keep the head from moving to the right side in an impact is acceptable. A side-impact head-net restraint system, such as shown in picture 15.17.9-2 below, is also acceptable.”
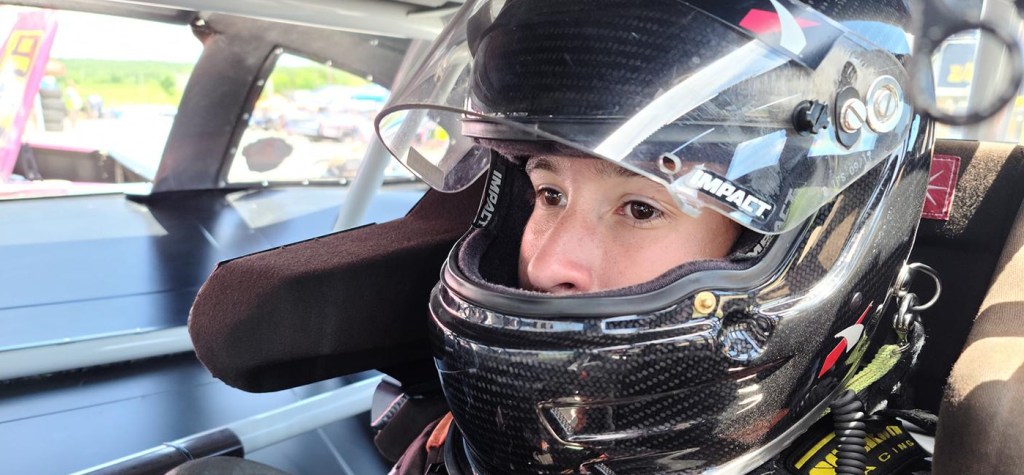
As stated, it is the opinion of this author that a right-side net isn’t as good as a full containment seat or “halo” racing seat to fully surround the back and sides of the driver’s helmet. This adds safety to the driver in the event of a roll over or side impact. A full containment seat is also well complimented by a right-side net. If you choose to not use a full containment seat we recommend using a hybrid Head and Neck Restraint to protect the driver in side impacts or roll overs. We go into detail on HNR (Head and Neck Restraints) in this post.

Note drivers head in the car on the right. No side protection
You’ll also want to consider the FIA ratings themselves. FIA 8855-2021 is the latest standard. Thankfully for pricing purposes the 8855-1999 the seat standard has not been nullified by the 8855-2021 standard. Seats with the 8855-1999 ratings are going to be more affordable than the top-level 8862-2009 standard and the latest 8855-2021. The good news? The latest 8855-2021 seats have a 10-year lifespan compared with five years for the 8855-1999 seats.
You can view the full options we have for racing seats be clicking the URL.
Regardless of whether you choose the more common aluminum seat or the more expensive rigid seat they are all designed with some form of load limiting. Load limiting means to limit the amount of load the occupant will see on different areas of the body. The theory behind load limiting is to increase the load on the occupant as quickly as possible to an acceptable level, and then ride the occupant down until the end of the event.
The most common is the aluminum seat (Kirkey, Ultra-Shield) that is designed to deform in an impact to provide this “load limiting.” These seats are constructed of bent or formed aluminum sheets. If constructed correctly (Kirkey and Ultra-Shield are), the seat is the load limiter in the system. The load still needs to be spread out over the greatest area. This means the seat should support the entire side of the occupant (leg, pelvis, rib, shoulder, and head).
The second is the stiff outer shell seat (OMP) made from aluminum or carbon fiber. The rigid outer shell seat system is less common because of its greater cost. You will never distort or open up this type of seat system. The inner liner that is form-fit to the occupant absorbs the energy of the crash. You can never run a stiff seat without the foam liner to absorb the energy of the crash A seat that does not deform under impact acts as a rigid outer shell to contain the occupant and a foam inner liner does the load limiting. As one might imagine, this makes the inner liner very important.
Next is measuring for your seat. You want to be comfortable, yet you also need to fit snug. One so you’re safe, the other so you’re not moving in the seat as you corner. When taking measurements it is preferred to use a straightedge like a ruler or yardstick. A broom handle may also be used. Just make marks on the broom handle and then lay a tape measure across the broom to find your measurements. If you do use a tape measure to take these measurements be sure the tape measure does not bend to the contours of the body.
The diagram shows the measurements we need to make.

Diagram for measuring for a racing seat (Source kirkeyracing.com)
To properly take a racing seat measurement properly, it may be helpful to have another person helping you.
Most drivers fit into a standard sized Kirkey Auto Racing Seat. If you measure your hips first most likely one of Kirkey’s standard sizes will probably fit you perfectly.
If you have further questions or concerns about how a seat will fit you, drop us a line here at Contact Us or email us at info@calltogrid.com and one of our staff humans will help answer your questions.
Before purchasing you’ll also want to make sure the seat will fit into your car? Transmission tunnels tend to be the trouble area. You can check with guys who own a car similar to yours and ask for guidance.
Pictured is a transmission tunnel notch out panel for a Mazda MX-5. This is a common modification needed for MX-5s. We have two in our fleet!

Transmission tunnel notch out panel for a Mazda MX-5.
Shown are the two key measurements you’ll want to make. Line ‘A’ shows measuring at the outside edge of your seat at the widest point. Line ‘B’ shows measuring near the shoulders at the widest point. Again outside edge.

Key Measurements for racing seat fitment.
Again, you can speak with people who own a car similar to yours to see how they handled seat fitment or they may have some guidance.
Mounting of the seat should also be considered prior to your purchase. Some seats require mounting kits that are not included in the seat purchase. If you have questions reach out to us at Contact Us or email us at info@calltogrid.com and we’ll be able to answer all your questions.
It is wise check with your sanctioning body and/or track for their rules and regulations on seat mounting. You do not want to get to the track and then fail Tech because your seat is not properly installed and not be able to run.
As a general rule the seat should be mounted to the roll cage or structural member of the frame. These other guidelines are either highly recommended, or required: